By Steph Hall
It’s not just the anticipation of getting an amazing shot that motivates me to shoot star trails, but also the act of being outside in the stillness, soaking up the beauty of the night sky.
It is my time to reflect, wonder and admire our Universe. If I can share some of that wonder through my work, I’m a happy person.
Photographing star trails: gear guide
You need a camera with good manual functions, a wide angle lens, tripod and remote or cable release to snap basic star trail photos. A torch or off-camera flash and specialist processing software will help take your images to the next level. Using off-camera flashes, torches or even candles to light up foreground elements adds interest.
Although digital or film single lens reflex (SLR) cameras give you the greatest flexibility, good compact cameras with manual functions (which allow you to change your ISO, aperture and shutter speed) can also be used. A 28 mm lens or wider captures as much sky and foreground as possible and a sturdy tripod keeps your camera steady in even the strongest winds.
Photographing star trails: best conditions
Avoid light pollution and early evening ambient light by heading out into the wild a good two hours after sunset. Remember to check moonrise times and the weather, or you might have to cut your shooting time – and the length of your star trails – short.
Point your camera north or south (depending on which hemisphere you are in) to locate the celestial pole, where stars rotate about a central point. Aim east or west to capture the celestial equator, where stars seem to travel in straight lines. Set up near trees, rock formations or abandoned buildings if you want to add foreground interest.
Photographing star trails: camera settings
The easiest way to capture star trails is to take one long exposure, of at least 30 minutes. However, this creates unwanted grain or noise in your image, which can be avoided by taking multiple digital shots at short exposures and stacking them together with specialist star trails software.
Set your camera, tripod and remote release up, shoot from a low angle to fit as much sky in as possible and take a test shot.
In manual mode with your manual focus set to infinity, select an ISO between 200 and 600, an aperture between F2 and F9 and use a shutter speed of 30 seconds. Check the result, zooming in to see how many stars you can make out and checking the focus. Adjust your settings if necessary, taking more test shots until you can see quite a few bright stars. The lower the ISO number the less noise you will see, but you may not make out as many faint stars.
The lower the F number, the brighter your stars will be, but your foreground will probably be out of focus. Once you are happy, switch to continuous shooting mode and take 100 or more shots at 30 seconds each.
If you are using a torch or candles to light up the foreground, do this at the start or end of your shoot. Otherwise if you change your mind you will end up deleting a shot from the middle of the time period, causing a gap in your finished star trails.
Photographing star trails: best software
Check your files, remove any test shots and open your star exposures and best foreground images in a star trails programme. I use the free Startrails.exe. Set the images stacking and grab a cuppa. When you return all your shots should be combined into a single image with nice long trails.
Use Adobe Photoshop or the free GIMP photo-editing program to do some final fine-tuning. Bring out faint trails by bumping up the highlight section within the curves or levels function; darken your sky without affecting the stars by increasing the black and shadow section. Draw out variations of yellows, blues and reds in your stars by boosting the colour saturation and experiment with the colour balance of dark areas to make your sky a rich blue.
Top star trails photography tip: patience
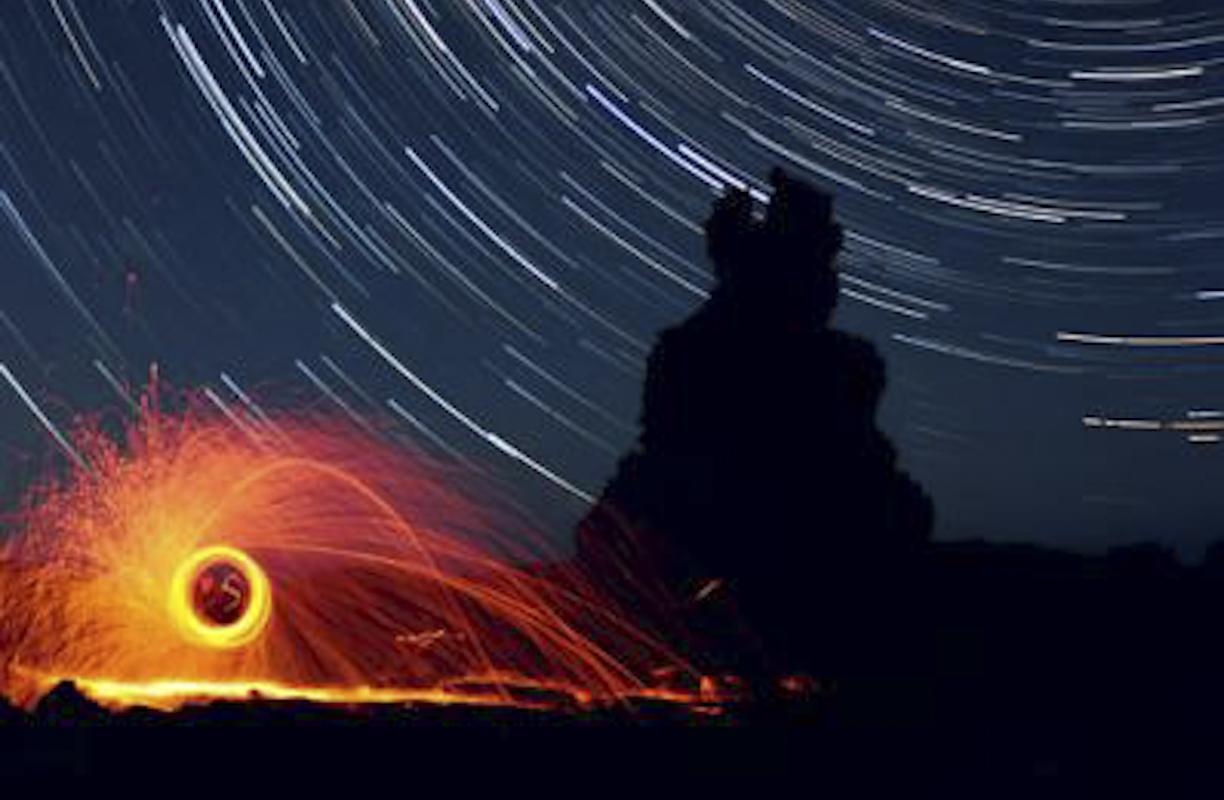
I planned the shot above carefully from the start. As well as combining fire spinning – tying fine grade steel wool to the end of a piece of wire, lighting and spinning it – with a star trail around the celestial pole, I wanted to include a popular rock formation along the coast of my home town. This meant I had to wait until the lowest tide, well after sunset, to reach an otherwise inaccessible vantage point.
On my first attempt, the Moon was up. There then followed many cloudy nights. Finally, weeks later, I was able to get in position. A good idea combined with much preparation delivered the shot I was after.
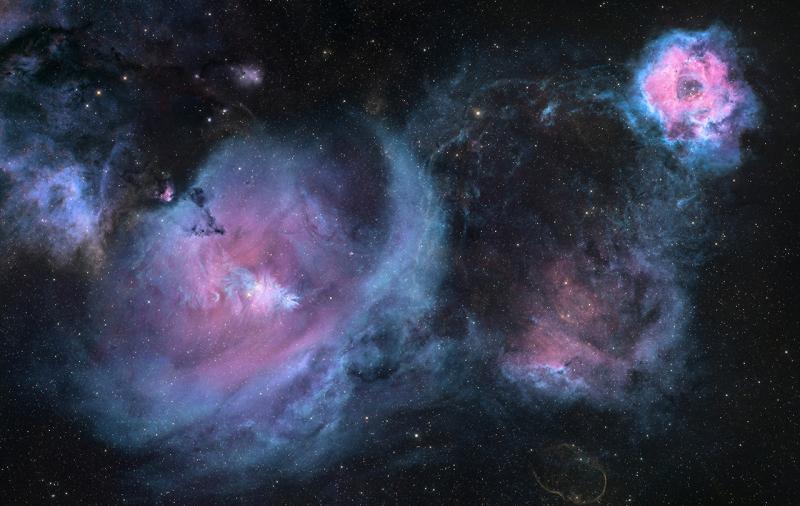
Header image: Circles and Curves by Sean Goebel, Shortlisted in the Skyscapes category of Astronomy Photographer of the Year 2022

Astronomy Photographer of the Year Exhibition
See the world's greatest space photography at the National Maritime Museum Greenwich.