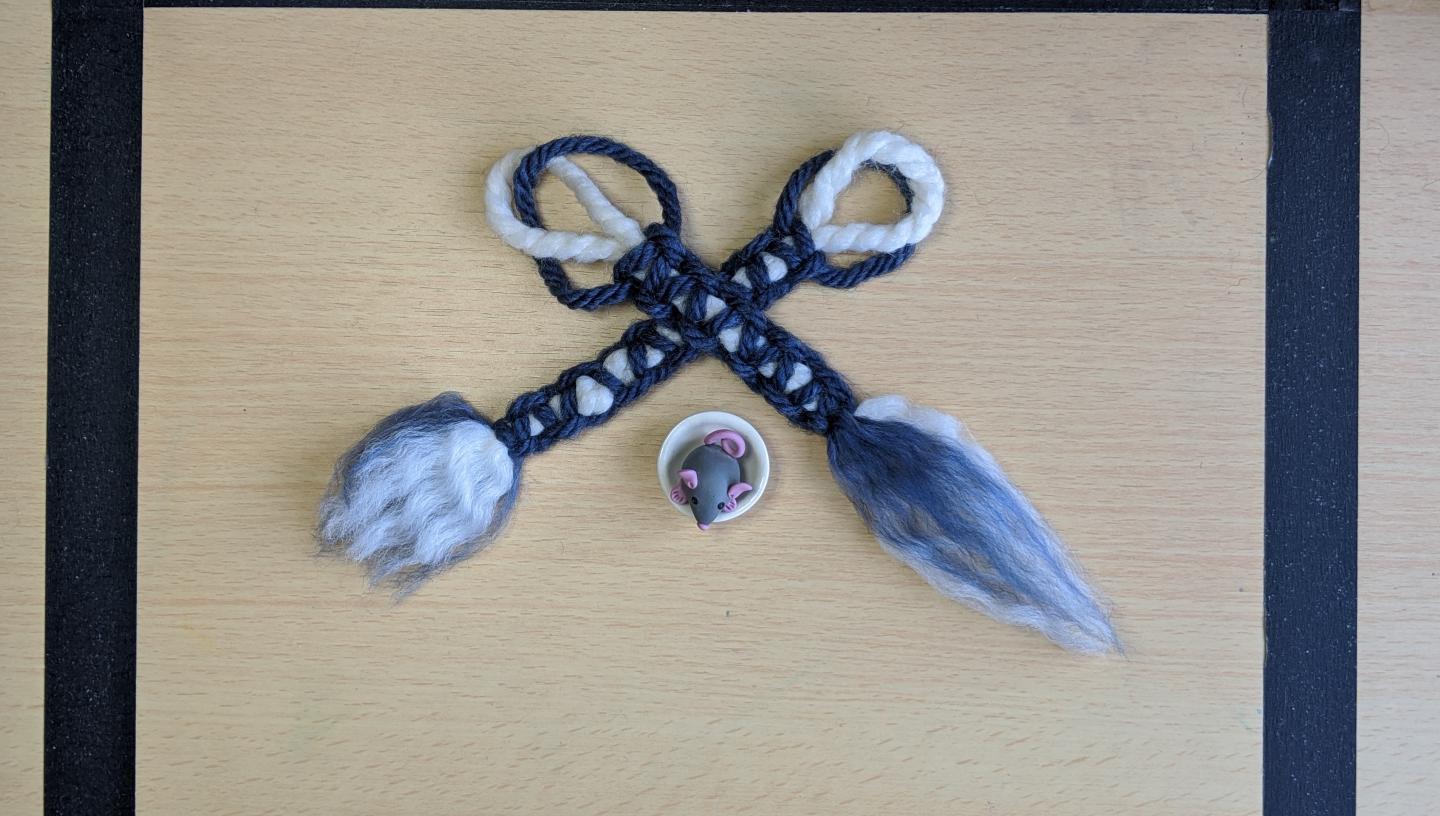
Sailors would learn how to tie knots as a necessary practical skill on board a ship.

However this act of knotting turned into a hobby for many sailors whilst on long voyages and they made beautiful macramé art to sell in port or give to loved ones.

Created by Brenda Coyle 

You will need:
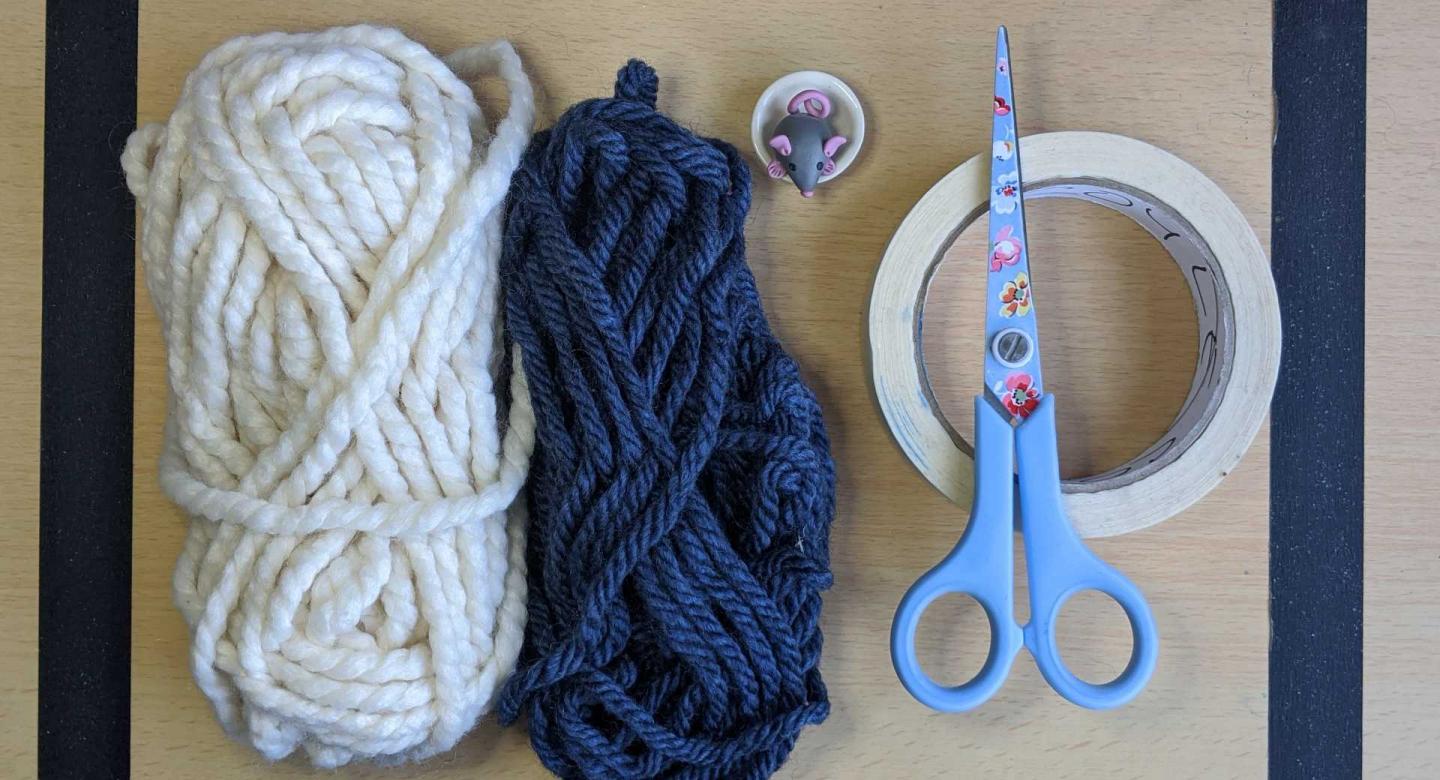
white wool, blue wool, tape, scissor, mouse in a pot

Wool

Tape

Scissors

Step 1

Cut two pieces of wool, one approx 60cm (we've done this one in blue wool) – one smaller, 30cm long. The longer piece will be for the knotting on the keyring (the blue one) and the smaller piece is the inside of the keyring (we've done it in white).

An image for 'Step 1'

Step 2

Find the centre of both pieces and hold them together.

An image for 'Step 2'

Step 3

Place over a pencil to form a loop on one side.

An image for 'Step 3'

Step 4

Pull ends through the loop and pull tight to make a knot.

An image for 'Step 4'

Step 5

This is your holding knot. Attach it to a table with tape or get someone to hold it for you.

Separate the colours shorter wool together (you can tape this down too), with larger wool strips on either side

We will call the left side A, the right side B.

An image for 'Step 5'

Step 6

Now using the righthand piece B make a loop over the centre wool.

An image for 'Step 6'

Step 7

Place the left piece A over the first piece B.

An image for 'Step 7'

Step 8

Take the end of the vertical piece A and thread under the centre.

An image for 'Step 8'

Step 9

Go through under and through the loop. Then pull both A and B

An image for 'Step 9'

Step 10

Now pick up string A and make a loop over the centre.

An image for 'Step 10'

Step 11

Take string B and go over string A vertically.

An image for 'Step 11'

Step 12

Continue under the centre strings.

An image for 'Step 12'

Step 13

Go under and through the loop – pull both ends of string to form another knot.

An image for 'Step 13'

Step 14

Continue making knots creating loops with string A and then string B.

When the keyring is long enough, finish off with an ordinary knot using strings A & B then cut all the threads to approx 4cm. 

Unravel the bottom threads.

An image for 'Step 14'

Step 15

Remove the pencil from the top and you have your macramé keyring - we made two!

An image for 'Step 15'

Congratulations!

Well done on completing this craft! Don't forget to share your keyring with us on social media